
Are you ready to embark on a journey of transformation and creativity? A journey as I breathe new life into vintage furniture in my newly renovated studio.
Suspense builds as I take you through the step-by-step process of revamping this furniture piece, sharing my expert techniques and innovative ideas.
From meticulous preparation and thorough cleaning to scuffing and smoothing the surfaces with a Dewalt orbital sander, I leave no detail untouched.
Together, we’ll explore the world of color as I carefully apply thin coats of deep hunter green, ensuring durability and attention to every edge and intricate area.
Don’t worry; I’ve got you covered with protective measures, like painter’s tape for the inside of the cabinet.
And let’s not forget the finishing touches – painting the hardware and applying a protective wax finish – before reattaching the hardware and hanging the doors with new hinges.
Join me on this innovation journey, and let’s transform vintage furniture together!
Keep the comments, questions, and suggestions coming – I can’t wait to hear from you!
Preparation and Cleaning
I removed all the hardware from the vintage furniture and thoroughly cleaned it to prepare for painting.
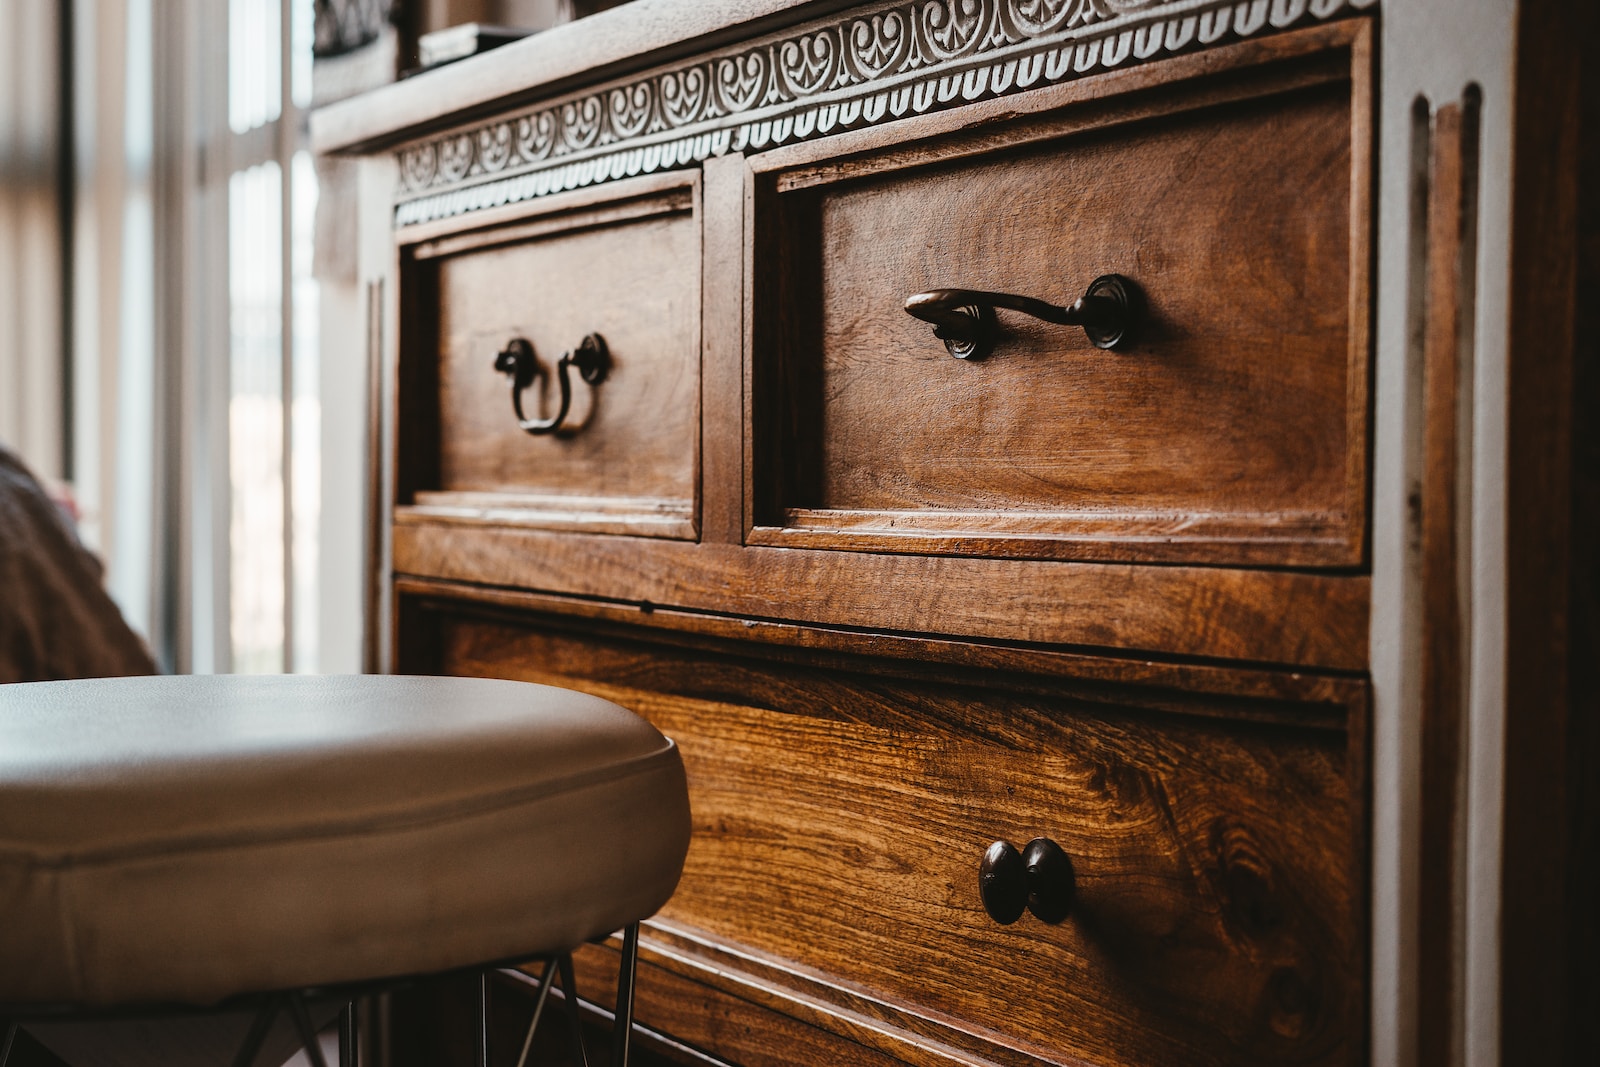
Sourcing materials for this project was an exciting adventure. I stumbled upon a piece of vintage furniture for only $20! It was missing one knob, but that didn’t deter me. I carefully removed all the hardware, knowing I would use it later in the project.
Next, I meticulously cleaned the piece, removing any dirt and grime.
Now came the fun part – choosing the right paint color. I wanted something bold and unique, so I decided on a deep hunter green. It adds a touch of elegance and sophistication to the piece.
With my paint color selected, I’m ready to move on to the next step of this transformation journey.
Painting Process
While giving the piece a new look, the worn-out surfaces are scuffed with a Dewalt orbital sander and meticulously cleaned to ensure a smooth painting application.
When choosing the right paint color, I opted for a deep hunter green shade that’ll add a touch of elegance to the vintage furniture.
To achieve a smooth finish, I used a dollar store brush and applied thin coats of paint, pulling it toward the edges for a clean result. Painter’s tape was also used to protect the cabinet’s interior from accidental paint splatters.
I switched to a smaller brush for the side panels and detailed areas to ensure precision.
After a few hours of drying, I applied a protective wax finish to enhance the durability and longevity of the transformation.
The painting process is crucial in revitalizing old furniture, and these techniques guarantee a stunning end result.
Finishing Touches
To complete the project, I carefully apply a protective wax finish to ensure the durability and longevity of the piece.
The refinishing techniques I’ve employed have transformed this vintage furniture into a stunning and timeless piece that will be cherished for years.
The deep hunter-green color choice adds a touch of sophistication and elegance to the furniture, making it a standout in any room.
By applying thin coats of paint with a dollar store brush, I’ve achieved a smooth and flawless finish, enhancing the overall aesthetic appeal of the piece.
The protective wax adds a subtle sheen and acts as a barrier against daily wear and tear.
With the original hardware refinished and the missing knobs replaced with spares, this furniture can be enjoyed and admired.