
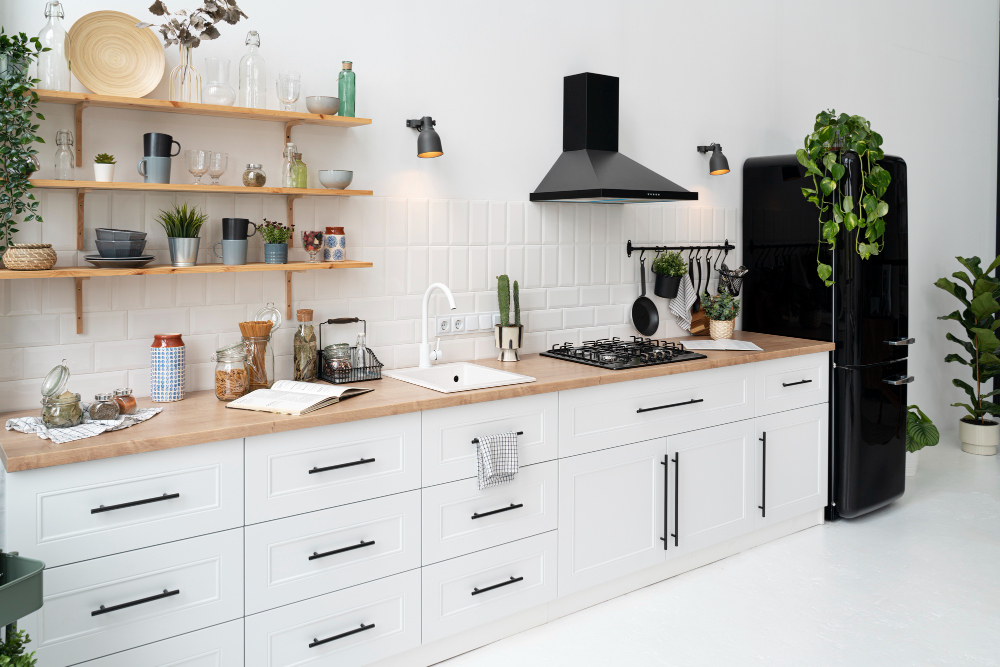
Are you tired of your outdated kitchen cabinets?
Maybe your cabinets are in good condition, but the color or finish isn’t your style.
Refinishing your cabinets is a great way to update your kitchen without breaking the bank.
But where do you start?
That’s where “Refinishing 101: A Step-by-Step Guide to Renovating Your Kitchen Cabinets” comes in.
In this buying guide, I’ll share everything you need to know about refinishing your kitchen cabinets.
Whether a DIY novice or a seasoned pro, you’ll learn the best products and techniques to ensure a successful refinish.
I’ve covered you, from surface preparation to picking the right paint and primer.
Plus, I’ll provide tips on using the best tools to apply the paint and protect the finish with a sealer or clear coat.
So, if you’re ready to take your kitchen cabinets from drab to fab, keep reading!
Research the best products and techniques to ensure a successful refinish.
Refinishing furniture can be daunting, especially if you’re unsure what supplies and techniques you should use.
But don’t worry – you can surely achieve a successful refinish with some research and preparation.
Start by researching the best products available to use in your refinish.
Look online for reviews and recommendations from others who have done refinishing projects.
Consider the cost and ease of use of the products.
Remember, quality materials and tools will ensure a better outcome.
Next, research the best techniques to use for your project.
The techniques will vary depending on the type of furniture and the finish you want.
Read tutorials and watch videos so you can get a better understanding of the steps involved.
Finally, practice the techniques you’ve learned before you begin working on your project.
Practice on scrap wood or furniture that you don’t mind ruining.
This will help you feel more confident and comfortable with the techniques before you start on the actual furniture.
If you research and practice beforehand, you can have a successful refinish.
Take the time to learn the best products and techniques, and you’ll be able to enjoy your newly refinished furniture for years to come.
Prepare the surface appropriately by cleaning and sanding.
Preparing the surface of a project is one of the most important steps of any DIY endeavor.
Before you start painting, staining, or varnishing, it’s important to ensure the surface you’re working with is clean and sanded.
First, start by cleaning the surface you’re working on.
This can be done with warm, soapy water and a sponge or cloth.
Don’t use abrasive cleaners as they may damage the surface.
Once it’s clean and dry, you can start sanding.
This will help to create a smooth finish and remove any imperfections that could affect the quality of the result.
When sanding, use medium-grit sandpaper and start with the outside edges of the surface.
Work your way in, sanding in the same direction.
Finish with fine-grit paper to get a smooth finish.
Don’t forget to sand in corners and hard-to-reach spots.
Make sure to use a dust mask while sanding, as it can be hazardous to breathe in the particles.
Once you’ve finished sanding, wipe off any dust with a damp cloth.
Then, your surface is ready for whatever project you have in mind!
Taking the time to prepare the surface properly will ensure that your project looks its best.
So the next time you have a DIY project, remember to clean and sand the surface before starting.
Choose the right paint and primer for the job.
Painting can be a great way to give your home a fresh look.
But you’ll need to pick the right paint and primer to get the job done right.
Here are some tips for choosing the best paint and primer for your project.
First, you’ll want to choose a paint and primer designed explicitly for your painting surface.
Different surfaces require different paint and primer combinations.
For example, if you’re painting wood, you’ll want to use a primer designed specifically for wood.
The same goes for masonry or metal surfaces.
Next, you’ll want to pick the correct type of paint and primer for the job.
If you’re painting a room in your house, you’ll want to use latex paint.
Latex paint is water-based and offers good coverage, making it an excellent choice for interior walls.
If you’re painting metal or masonry surfaces, you’ll want to use an oil-based paint.
Oil-based paints are more durable and provide better coverage than latex paints.
Finally, you’ll want to choose a paint and primer with the right finish.
If you’re painting a room in your home, you’ll want to choose a paint and primer with a flat or matte finish.
This paint will help hide imperfections and give your walls a clean, uniform look.
If you’re painting metal or masonry surfaces, you’ll want to choose a paint and primer with a gloss or semi-gloss finish.
This paint will make the surface easier to clean and help protect it from the elements.
Choosing the right paint and primer is essential for a successful painting project.
Use the right combination of paint and primer for the job to get the best results.
Use a brush, roller, or sprayer to apply the paint.
Painting can be a fun and exciting way to update any room in your house.
Whether you’re looking to give a bedroom a fresh look or add a pop of color to a living room, the right tools can make all the difference.
Here is a buying guide tip when painting: use a brush, roller, or sprayer to apply the paint.
Brushes are perfect for creating precise lines, which can be great if you want to paint a pattern on the wall.
You can also use them to paint trim or other small areas.
However, they can be time-consuming and require more physical effort.
Rollers are great for painting large areas quickly and evenly.
They can also help you create a smooth, uniform finish.
Just make sure to use the right roller for the job.
For instance, if you’re using glossy paint, make sure to use a foam roller.
Sprayers are excellent for large spaces, like walls and ceilings, as they can quickly and evenly cover the surface.
They are also great for painting furniture or other objects that require a more detailed finish.
Just make sure to use a suitable sprayer for the job.
Practice a few times before you start painting, no matter which tool you choose.
This will help you get used to the tool and ensure you get the best results possible.
And if you don’t feel comfortable using any of these tools, hiring a professional painter is always a good idea.
Protect the finish with a sealer or clear coat.
As a DIY enthusiast or a homeowner, you know that protecting your wooden furniture, floors, and surfaces is one of the most critical ways to keep them looking new and beautiful for years.
One effective way to do this is by applying a sealer or clear coat.
Sealers are essential for protecting wood surfaces from moisture and staining agents.
But, more importantly, they help extend the lifespan of your wooden surfaces by preventing bacteria and fungi growth.
So, what should you look for in a good sealer?
First, consider the type of wood you’re working with, as some may require specific sealers.
Second, consider the location of the surface; for instance, outdoor surfaces may require a more potent and robust sealer than indoor surfaces.
On the other hand, clear coats protect surfaces from scratches and abrasions.
They also offer a layer of UV protection, which helps prevent your wooden surfaces’ fading, yellowing, and discoloration.
When shopping for a clear coat, consider the drying time, water resistance, and durability.
You want to select a quick-drying clear coat with high water resistance and durability to prevent prematurely reapplying the coat.
In conclusion, whether you’re protecting outdoor decks, furniture, or floors, using a sealer or clear coat can make all the difference.
Take time to research and choose the best sealant for the wood and the environment it will be in.
Conclusion
In conclusion, refinishing your kitchen cabinets is an accessible and cost-effective way to modernize your home’s look and feel.
You can transform your kitchen in a few days with the right products, preparation, and technique.
Researching and following the proper steps will ensure a successful outcome and a kitchen you’ll love for years to come.
You can achieve a professional-grade refinish without breaking the bank by choosing the right paint and primer, preparing the surface properly, and applying the color carefully.
So why not give your kitchen a new lease on life and bring a stylish and contemporary feel to your home?
Following the steps outlined in this guide, you’ll be on your way to a beautiful new kitchen in no time!